 Skip to content
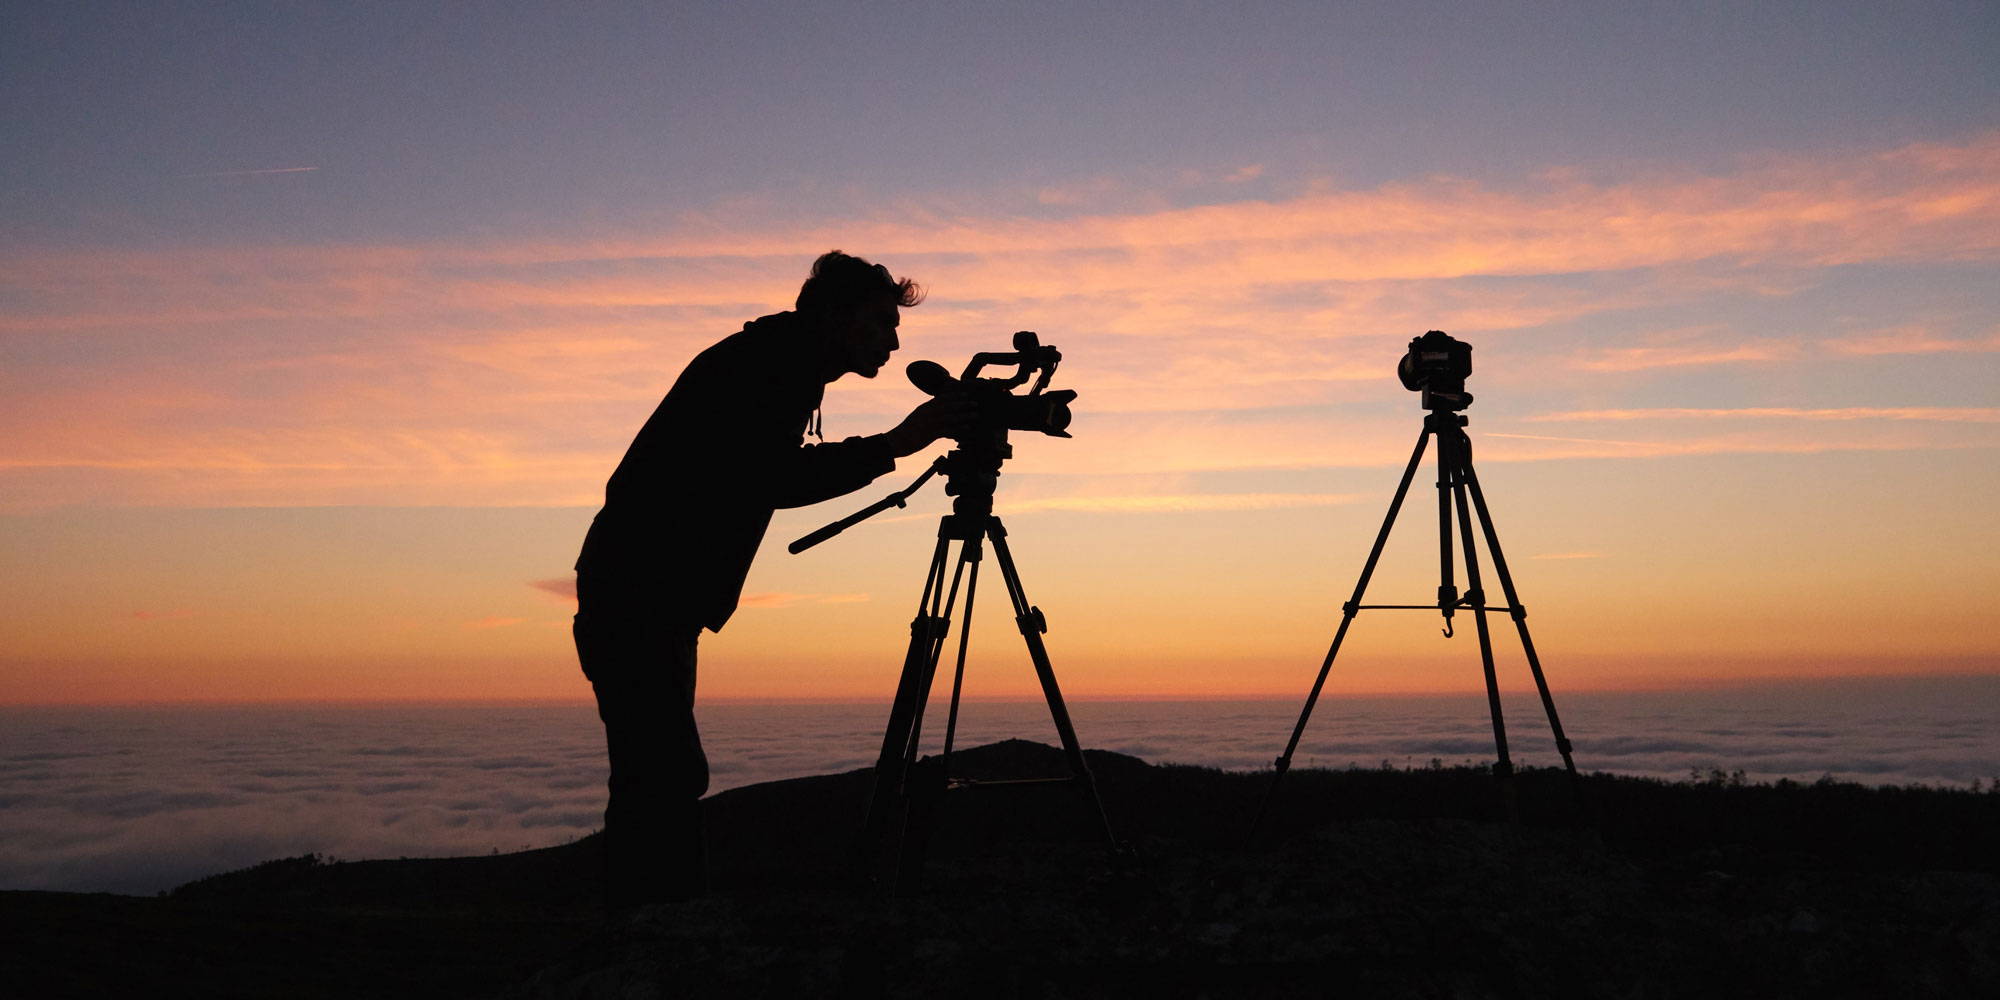
With the introduction of social media sites like Facebook and Instagram, sharing pictures with family and friends has become easier and easier to do. Because of this, there has been an increased interest in travel photography. After all, who doesn't want to share their amazing adventures with those they care about? That's what got me hooked on travel photography.
For the past 15 years, I have been traveling around the country and the world trying to capture my adventures in photographs and video. What started as an interest has quickly turned into a passion, and now I cannot think of my life without either travel or photography. I just love going on adventures and sharing those experiences with others.
I am a firm believer that the photographer makes the shot, not the equipment. Some of the most amazing photographs I have seen were taken with nothing more than a phone camera. That said, sometimes photography can be challenging even in the best of circumstances and with the best equipment. These challenges can leave us less than thrilled with the photos we take.
At one time or another, most of us have also likely gotten home, taken a look at the pictures we were really excited about, only to find them underwhelming. It’s something that has happened to all of us.
However, there are some quick and easy tips that you can follow to make sure that it is less likely to happen to you again. Follow these steps and you have a much better chance of taking pictures that will really WOW people when you get home.
1. Use the Golden and Blue Hours
One of the best ways that you can enhance the appeal of your photographs is to take your pictures during the Golden and Blue Hours of the day. I am not trying to discourage you from taking pictures during other times of the day, but the light during these periods is soft and the pictures you take will really grab your viewer’s attention.
Light is that important to photography. In fact, I know photographers who will search out the best light, then look for something to photograph. Having good quality light can take your photographs from good to great in a hurry.
In case you aren’t familiar with these terms, the Golden Hours refer to the hour right after sunrise and the hour right before sunset each day. On the other hand, the Blue Hours refer to the hour just before sunrise and the hour just after sunset, when the sun is just beginning to show and just beginning to disappear each day. During these times, the sun’s light is soft instead of too harsh, which is exactly the kind of light you should be looking for when you take your photographs.
2. Use Leading Lines
Another really great way to make your pictures pop is to use leading lines in the composition of your photographs. By using natural lines in the composition of your photographs, you create a visual journey for the viewer that helps their eyes move from one part of your picture to another. In a way, you are telling a story with your picture without having to use any words.
The leading lines can be a road meandering off into the distance, a railroad track heading into a tunnel, or the lines in a stain glass window you are photographing. In the last example, you are using lines to keep the viewers attention on the window, whereas with the road and tracks you are drawing their attention from one part of the picture to another.
Regardless of how you use leading lines, their use can make your photographs more visually appealing. Though you shouldn’t feel as though every picture you take needs to use leading lines, get into the habit of keeping your eye out for ways in which you can use natural lines in the composition of your shots. It takes some practice, but it is well worth it
3. Follow the Rule of Thirds
Another easy rule in the composition of photographs that can make your pictures more visually appealing is called the Rule of Thirds. The Rule of Thirds involves breaking the landscape or subject you are photographing up into thirds, both vertically and horizontally, and then placing the interesting subject matter you are photographing along the intersecting lines.
By following the Rule of Thirds, you will naturally make your photographs more balanced and visually appealing. A common mistake that beginning photographers often make is to put the main focal point of their composition in the middle of the picture. Studies have shown that is less visually appealing than placing the subject slightly to the left or right of center. See for yourself. Which of the following pictures do you find more visually appealing?
4. Know What Shutter Speeds to Use When Photographing Wildlife
When you have your camera set to Shutter Priority mode, you are able to specify which shutter speed you want to use, and then your camera decides which aperture and ISO setting to use to get the best exposure. If you are unfamiliar with the concepts of shutter speed, aperture, and ISO, I have included some basic definitions for you to review below.
Shutter Speed
Controls how fast the shutter on your camera opens and shuts when taking a picture. The quicker the shutter speed, the less likely movement in your pictures will appear blurry.
Aperture
How far open the eye of your lens is when taking a picture. The higher the aperture, the further open the lens gets when taking a picture. The wider the eye of the lens opens, the more light gets exposed to the sensor. The aperture also controls the depth of field in your images. The higher the aperture, the smaller the depth of field.
If you use a very high aperture when taking a photograph, the result will be a bokeh effect (where the part of the image you focused on is in focus, and either the foreground or background is purposely out of focus). This is often used in portrait photography.
ISO
The ISO is the sensitivity of your camera’s sensor to light. The lower the ISO, the less sensitive the sensor is to light and the finer the grain of your image. Higher ISO settings can make up for lower light exposure, but too high of a setting can result in grainy images.
Essentially, by adjusting how fast your camera takes the picture (the shutter speed), you are able to freeze the motion of the animals that you are photographing. Depending on the animal you are shooting and what they are doing, you are going to want to adjust the shutter speed to get the shot. For instance, if I am shooting a buffalo that is sitting still and grazing, I can safely use a shutter speed between 1/50 and 1/320 of a second and not have any motion blur. However, if I am shooting a cheetah running, then a much faster shutter speed of 1/1000 to 1/1250 of a second will be necessary.
5. Invest in a Sturdy Tripod
One of the biggest obstacles to taking quality pictures is keeping the camera still when you are taking a picture. Camera shake, or the slight movement of the camera while you are taking a picture, can leave a picture blurry and out of focus. Even the steadiest of hands is susceptible to camera shake, especially in low light.
If you are using a DLSR and you are familiar with and comfortable shooting in manual mode, you can also adjust the shutter speed to eliminate the effect movement can have on your images. A faster shutter speed will allow you to freeze movement in your photographs. However, if you are going to use a faster shutter speed, you will also need a wider aperture or higher ISO setting to even out the exposure. I have included a great diagram below that will help you understand the relationship between your camera’s shutter speed, aperture, and ISO.
6. Keep White Balance in Mind
A rather easy, but often overlooked, way to make sure that you pictures really pop is to pay close attention to the white balance you use. White balance is your camera’s mechanism of adjusting the colors in your image so that your picture looks more natural. If you take a picture with the improper white balance, the colors can look off instead of looking like what you saw when you took the picture.
Most cameras allow you to adjust the white balance before you start taking pictures. Typical white balance settings include Daylight, Cloudy, Shade, Tungsten, Fluorescent, Flash, and Custom. Just match the white balance setting to the conditions where you are taking pictures.
In case you forget to adjust the white balance before taking pictures, many post editing software packages, including Adobe Lightroom, allow you to adjust the white balance after the fact. Take a look at the example pictures below for a good example of how using the proper white balance setting can make your pictures look much more natural.
7. Research What You Want to Shoot

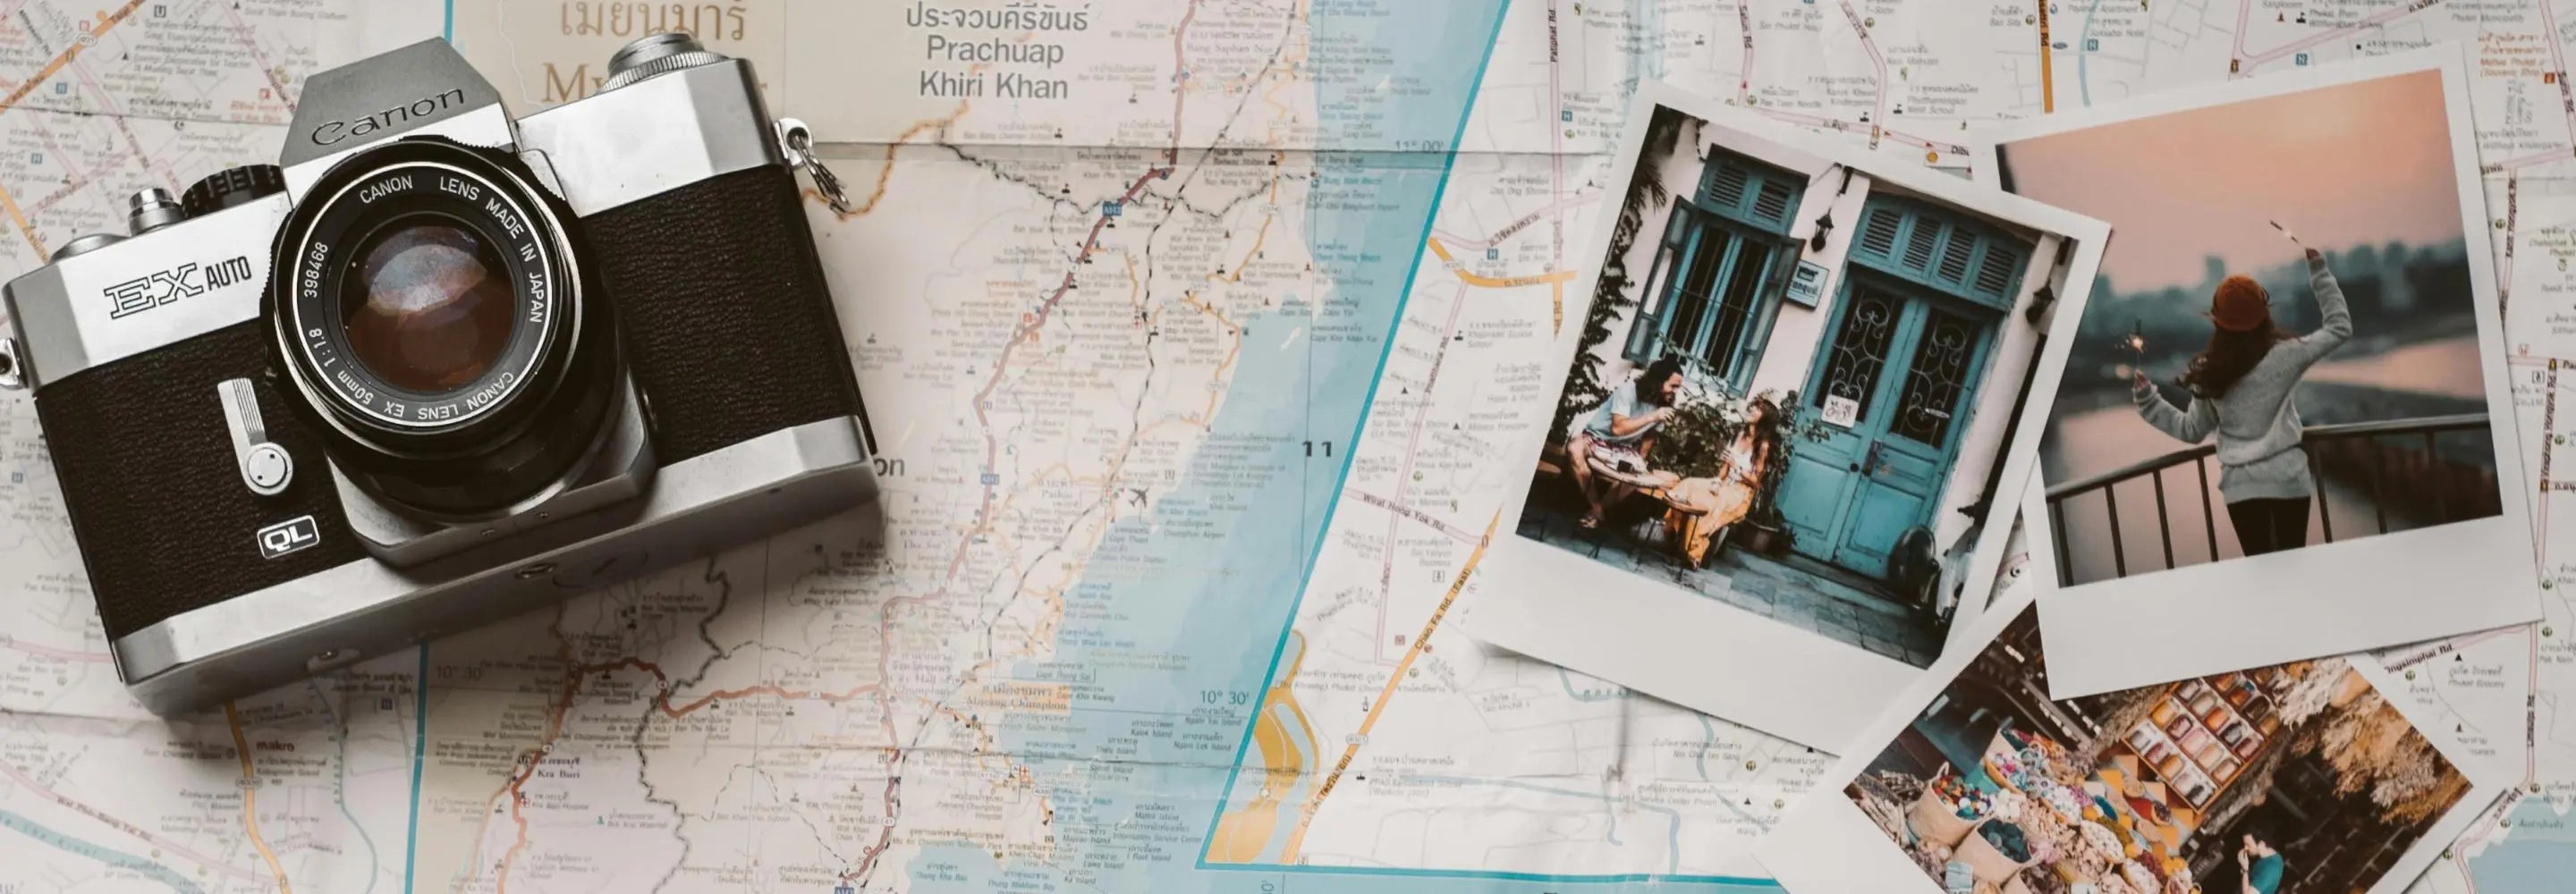
For every absolutely stunning photograph you see that was captured spontaneously, there are dozens that were taken after careful research and planning. Never shy away from taking impromptu pictures of things that catch your eye, but if you want to increase the number of beautiful pictures you take, it helps to be prepared before you travel.
Before you take your trip, do a little research on the locations you will be visiting. We will typically do a Google search on the locations, and then look at the pictures in the search results. Look for great locations to take shots, and pay attention to the details of the pictures. For instance, what time of day the shots were taken, whether people were included in the shots, etc.
We also like to use Instagram and Pinterest to do a little research on our destinations. They are great tools to see what other people have photographed at these locations and how they composed their shots. Doing this research ahead of time can give you some great ideas on where and how to take pictures when you arrive.
8. Talk to Locals
A great way to find great places and things to photograph is to talk to the locals when you travel. No amount of research will give you the knowledge and insight that someone who is intimately familiar with a location can give you. On top of that, you will probably learn something about the area and the people who live there.
If you are staying at a hotel or hostel, take some time to talk to the staff about the area. Find out where they would recommend that you visit and when. Some of the cooler photographs that we have taken we were able to take because we got some great recommendations from locals.
When we were in Tanzania, we stopped by a Masaai village to purchase some of the jewelry and carvings that they make and got to know some more about how they live. We ended up asking them if we could take some photographs of their ceremonial dances and they happily obliged. They were even nice enough to let us take some portrait shots. It was one of the most genuinely cool experiences of our trip.
9. Use GPS or a Photo Journal

There is nothing more frustrating than taking some really cool pictures, only to get back home and not remember what the picture is of. In some cases, this won’t be an issue because you took a picture of something you are very familiar with. However, chances are, you will look back at your pictures several years later and there will be more than a few pictures that you aren’t quite sure about.
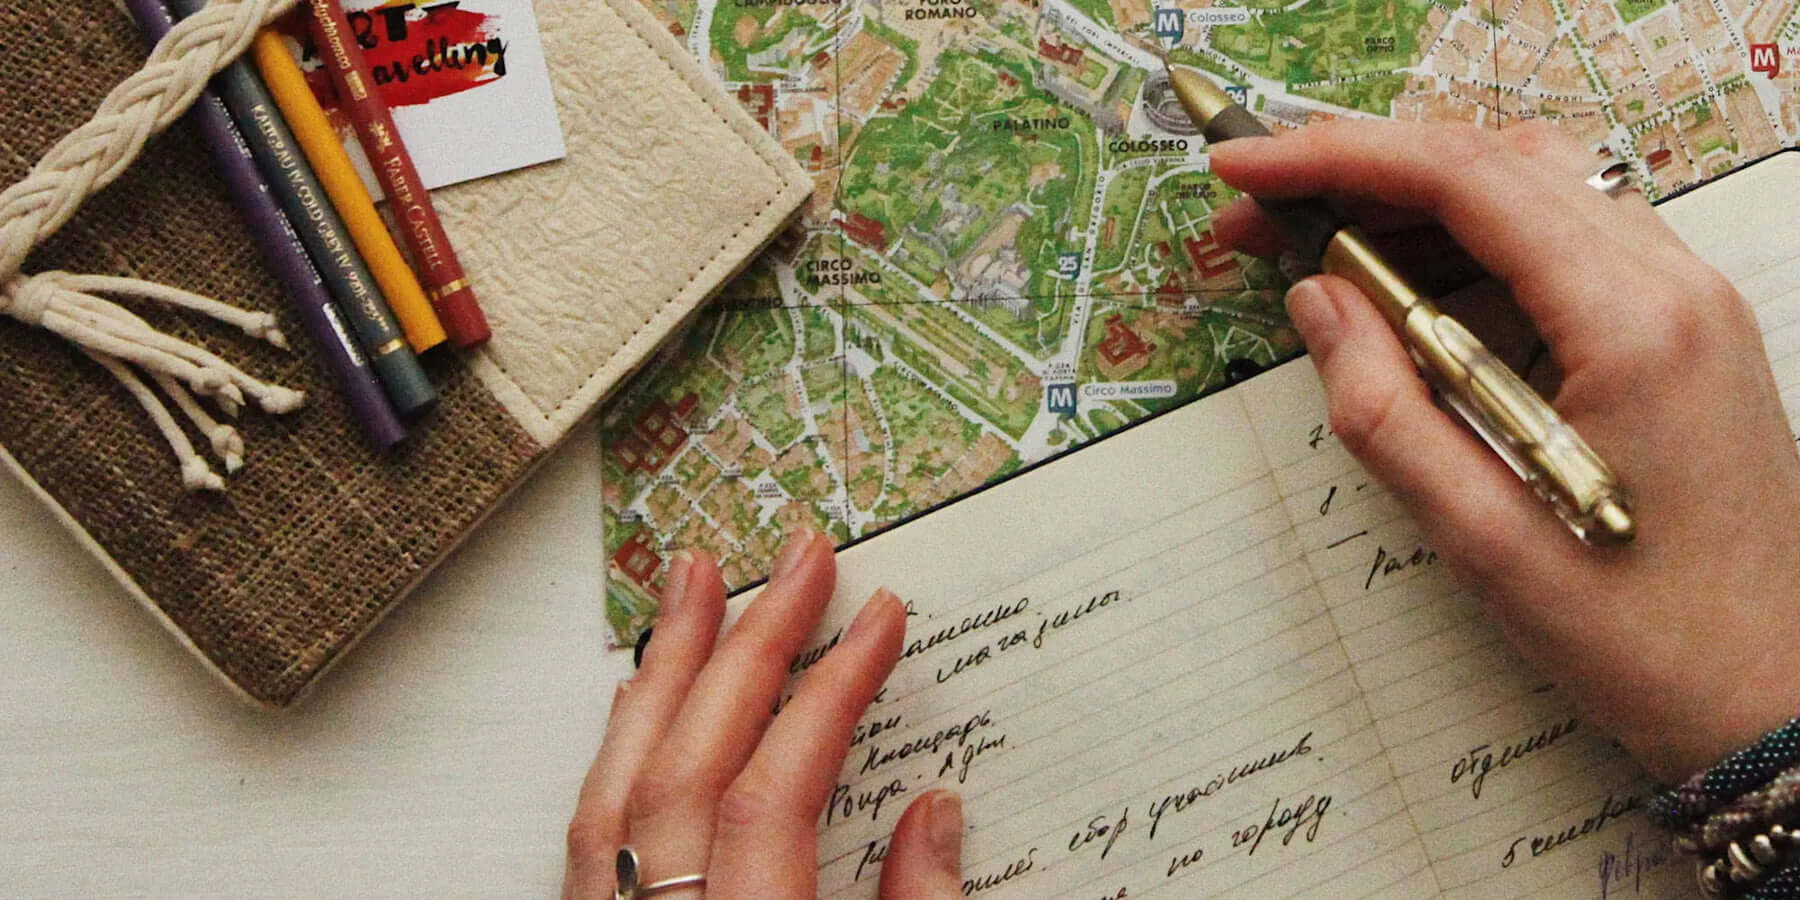
An easy way to eliminate the doubt is to take good notes on what you are photographing. Bring a small notebook that you can use as a photo journal, and then spend 10-15 minutes each night documenting what you did and what you photographed.
If your camera equipment permits, an even easier way of documenting where your pictures were taken and what they are of is to turn on your camera’s GPS. If you are using your phone to take pictures, you likely don’t need to worry about turning the GPS on. However, if you are using a DSLR you may need to turn this functionality on if your camera has this functionality. If your DSLR does not have built-in GPS, there are GPS units you can buy to attach to your camera. Just make sure you don’t leave the GPS on when you aren’t using your camera is it will likely drain your batteries.
An easy way to use the GPS tagging on your photos to keep track of where your pictures were taken is to use Adobe Lightroom’s built-in map feature to display the location of all of your images. This feature has saved us more than a few times with some pictures we forgot the details on.
10. Be Creative

The most important thing you can do to make sure you take some fantastic photos when you travel is to remember to use your imagination. Be creative when you are composing your photos. Find some interesting things to put in the foreground of your shots, use people in your shots to show scale, or adjust your perspective (by getting low to the ground or finding a high vantage point). These are just some of the ways in which you can get creative with your pictures.
Above all else, have fun. We travel so that we can find fulfillment, and taking pictures is a great way to document the fun we have. So make sure you have some fun when taking pictures. It will show in the results.
Additional Guides
If you are interested in travel photography and would like to learn some more, I have written a number of specific travel photography guides that you can check out.
Joshua Hewitt is an avid traveler and photographer who loves to see new places, meet new people, and experience new things. You can view Josh’s photography and travel experiences at Wanderlust Photos Blog or check him out on Facebook!


The Ultimate Holiday Gift Guide for Travelers
48 hours in the Lesser Known Kantemo, Mexico